Rentals Coordinator: Bringing existing rentals into the system
- Most of the rentals and renters have been entered into the system. RC should check these against paper records and add the date for Next Payment Due, which will mean the renter then has to renew the rental.
- RC: log in and go to dashboard.
- Go to Rentals > All Rentals, choose the relevant instrument (such as BV001) and double click on the name.
- Edit the Rental Page: Rented button should already be marked.
- Check Renters name, and add Rental Start Date for the current rental period, and Next Payment Due.
- click update.
- RC will have to do this for the viol and separately for the bow.
Rentals coordinator: renting an instrument/bow (see also video immediately below
- The first part takes place with Rentals Coordinator (RC) logged in to her account on the website. After RC and renter have agreed on the instrument and time period, RC should log out.
- With the RC there, the renter should log in. If they have not become a member, this have to do so in order to log in (Associate Membership is fine if that’s what they want). Then they can log in.
- Now we are on the renter’s account, with the RC guiding the renter.
- Go to Membership > Rental Instrument Master List, select the instrument, and hit “Rent” button.
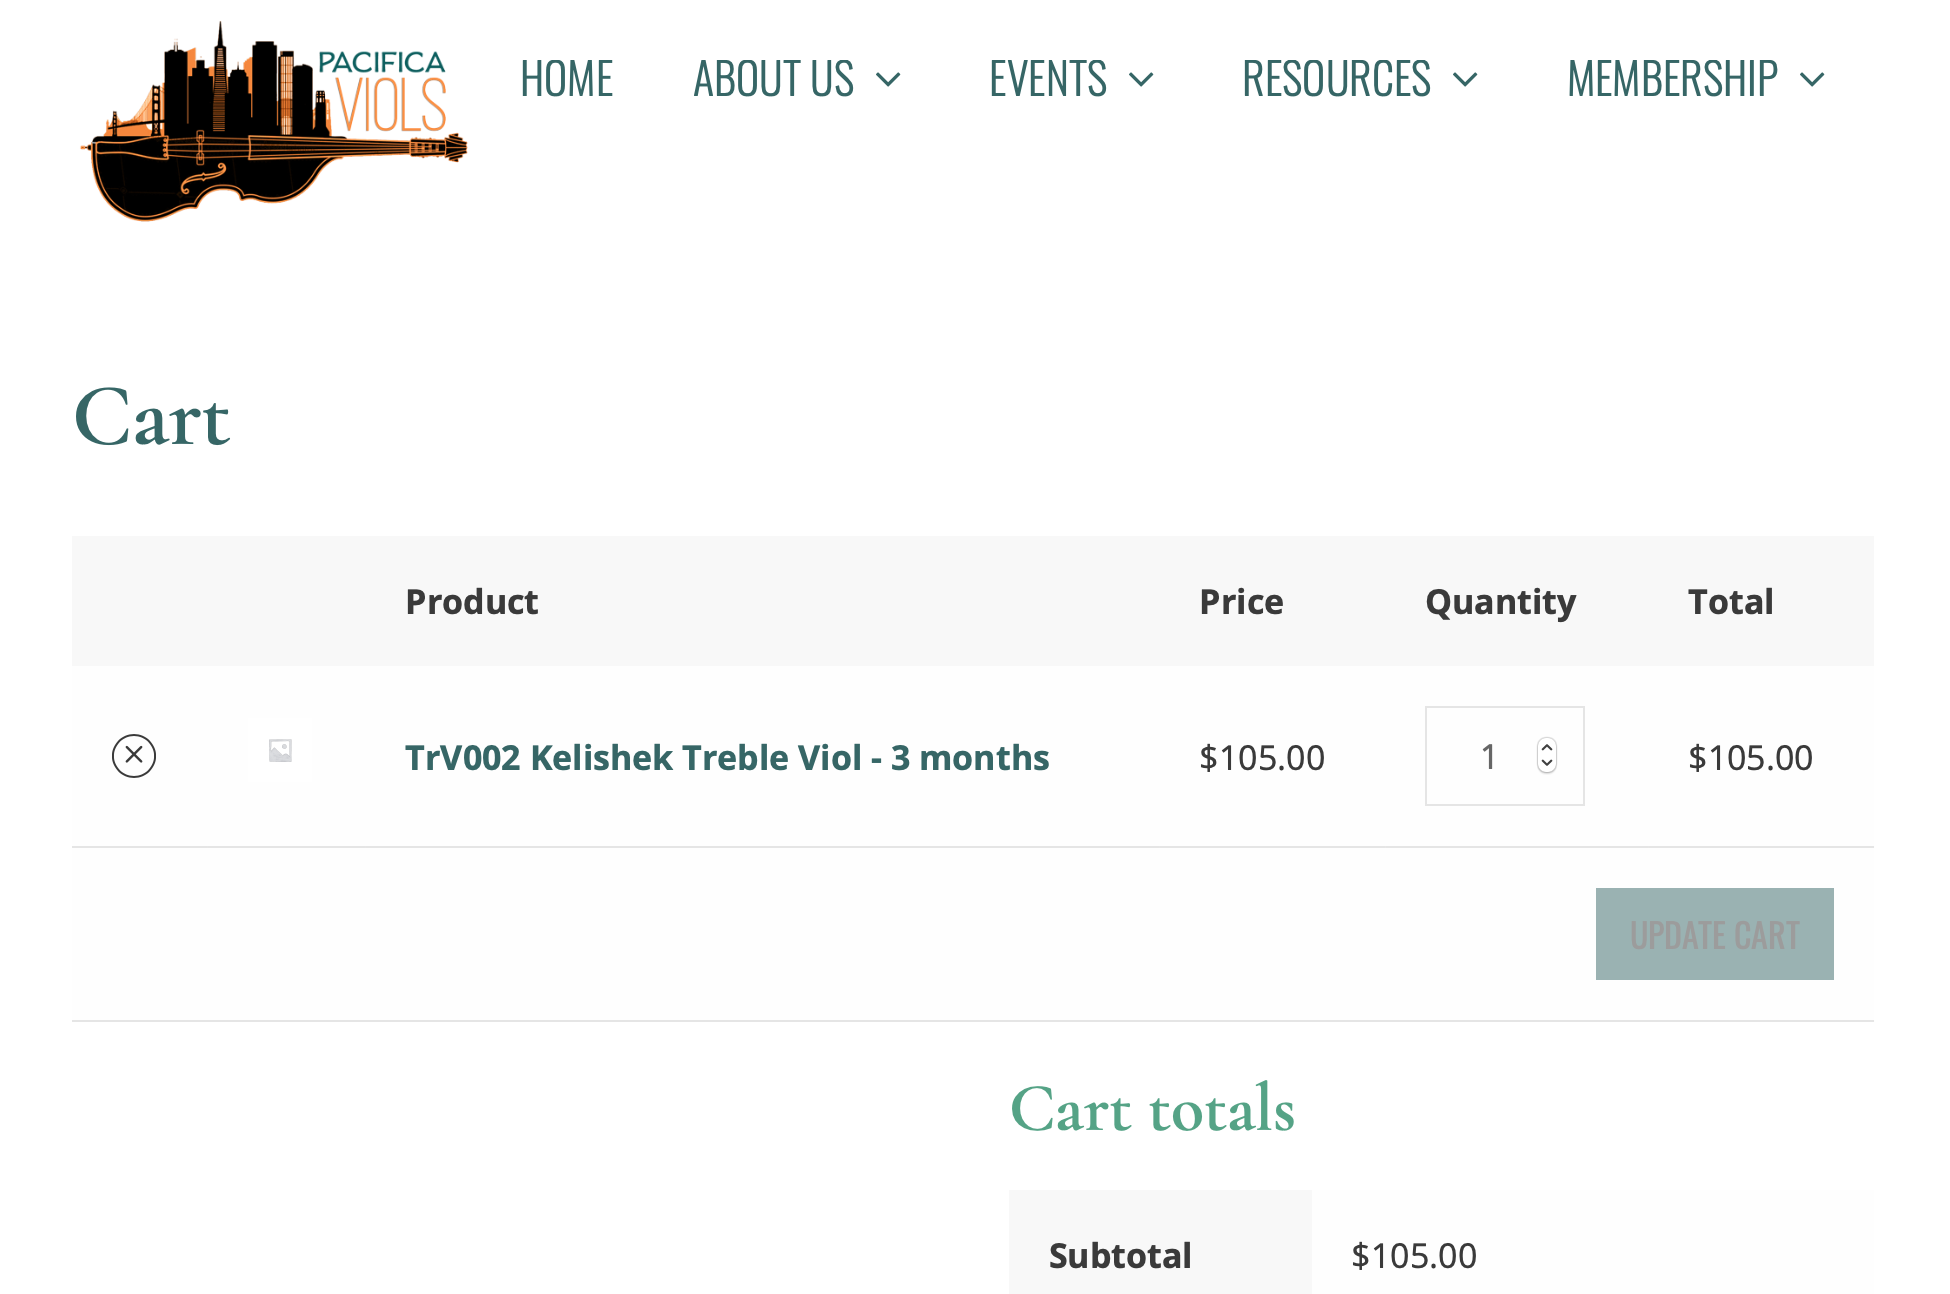
- Choose a Rental Period from the pull-down menu (1, 3, 6, 9, 12 months), and Add to Cart.
- Proceed to Checkout.
- The renter should fill out all the Billing Details (their name, contact info, etc. ). It would be good to note the number of the bow that comes with that instrument in the Notes.
- The renter can pay for the rental either with a check (click that option) or through PayPal. If they wish to use a credit card, they should use the PayPal option; that will take them to PayPal where they can use an existing PayPal account, or create one, or pay by credit card without creating a PayPal account.
- After the renter logs out, RC should log in.
- RC goes to the Dashboard, and selects Rentals.
- On the Rentals list, RC can filter by Treble Viol, etc. Find the instrument just rented and click Edit.
- On the rented instrument’s page, click the button for Rented, and then fill in the renter’s name and the beginning and ending dates of the rental, add any notes and click Update (very important!).
- RC should go back to the Rentals list and filter by bow (Treble Bow, etc.). Find the bow agreed on and repeat step 12 for the bow.
Important note about this video:
This video shows all the steps happening with the same User logged in. In actual practice, the person renting the instrument is the one who must be logged in for the Rental part of the process. The Administrator should copy the url for the rental page of the instrument (from the “Rent It” button), then give it to the Renter to complete the rental payment.
When the rental payment is complete, the Admin should go to the Rentals area and mark the instrument “Rented” and fill in the Rental Status as shown.
Renting an Instrument

Rentals Coordinator: renewing a rental
Renters can renew a rental on their own, following basically the instructions above for “Renting an instrument.” We will write some instructions to the renters once we’ve entered all the current rentals into the system. They may not remember to renew the bow as well as the instrument, so the RC is going to have to stay on top of that and fill in that information if the renters don’t.
We will set up a reminder email to a renter when their next payment is due, to renew the rental.
Getting to the Dashboard and editing pages
- to get to the WordPress Dashboard for editing: open our Pacifica website and log in as usual. Then go to https://pacificaviols.org/wp-admin/ and you should be at the Dashboard.
- to edit wording on a page, use the Dashboard, and go to “All Pages,” then find the page you want to edit. Most of them are best edited in “Elementor” (you’ll see an option for this when you click on the page you want to edit).
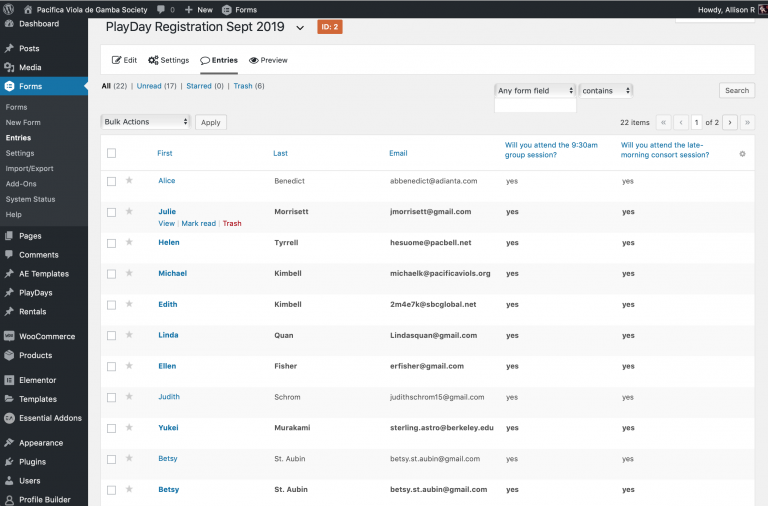
Exporting PlayDay Registration Entries (video)
You must be logged in and in the admin/dashboard area to export the form entries.

Editing Members' records (changing membership info or status)
- Log in, go to Dashboard
- Under PAID MEMBERSHIP, choose MEMBERS
- Choose the member’s name (User name) and click on it to get to the EDIT MEMBER screen
- Under MEMBERSHIPS, click the button EDIT to get to the EDIT MEMBERSHIP SUBSCRIPTIONS screen
- On that EDIT MEMBERSHIP SUBSCRIPTIONS screen, edit the type of membership (Subscription Plan: individual, partner, student, associate), the Start Date, End Date, or Status (active, cancelled, expired, pending)
- IMPORTANT: click SAVE SUBSCRIPTION!
See also PDF :Editing and updating Users and Members
Editing Members' Payment Info
- Log in, go to Dashboard
- Under PAID MEMBERSHIP, choose MEMBERS
- Choose the member’s name (User name) and click on it to get to the EDIT MEMBER screen
- Go to RECENT PAYMENTS, and click VIEW DETAILS
- This allows you to edit a single payment: for example, to change PENDING to COMPLETED
- Important: click SAVE PAYMENT
Rosters and Reports of Members and Users
All the info about the Members’ addresses, emails, etc can be edited by any Admin in the USERS area. See below, “Editing and updating Users and Members”.
It’s a little bit confusing b/c there are some areas on the Users’ areas (not to be confused with the Profile pages!) that have fields for “Customer Address” etc that seems to be duplication of info. These will only be used for folks who rent instruments. So, you should go and look at any of the User pages and see how the info is entered. The only thing that can’t be edited is the Username.
A caveat, though, is that changing the User Role on a User page DOES NOT change their Membership level. They are related, but if you manually change one, you will need to go to the other dashboard area and make sure the other is correct.
So, the info entered in the USER area overlaps with the info in the MEMBERS area, but there is some info that is stored in either one or the other.
You can download reports of members and payments: on the dashboard, go to PAID MEMBERSHIPS > REPORTS. Choose EXPORT (tab near the top). Choose the category of members (or all) or payments (or all) that you want a spreadsheet of, and hit GENERATE CSV. This will download to your computer and can be opened with Excel or Numbers or the equivalent spreadsheet software.
